
Most travelers don’t realize how confusing Galapagos ferry days can feel until they’re doing one
Making our Galapagos ferry transfers ended up being more confusing than I expected — mostly because there are so many little details and our tour agency gave us some bad information.
During our 30 days island hopping between Santa Cruz, Isabela, and San Cristobal, Bill and I took the inter-island Galapagos ferries three times and learned a lot. Even one ferry transfer is easier when you know the process ahead of time.
This guide covers all the things I wish we had known beforehand and the practical tips that will make your travel days much smoother.
Quick Answer: What Are the Galapagos Ferries Like?
The Galapagos ferries are more like large speedboats than traditional ferries. The boat rides themselves were manageable, but the process felt confusing at first: figuring out where to check in, understanding the luggage screening, boarding water taxis, and planning around long travel days between islands.
A few quick things to know:
- The ferries connect the three main islands: Santa Cruz, Isabela, and San Cristobal.
- Most ferry crossings take about 2 – 2-1/2 hours, but with the early check in and luggage screenings, the overall time frame for each crossing is 3-4 hours
- Ferry tickets currently cost about $35–40 per person, per ride (2025)
- They run twice a day – once in the early morning and once in the mid afternoon.
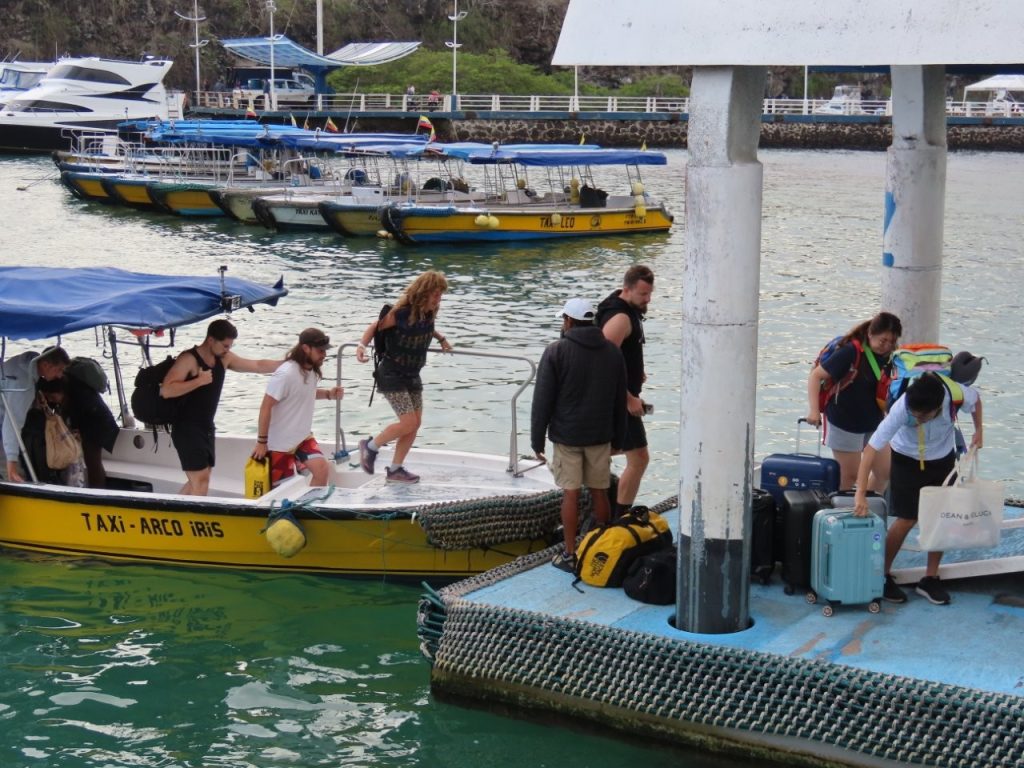
- You’ll use small water taxis to reach the larger boats
- The Isabela ↔ San Cristobal route requires changing ferries in Santa Cruz
Once you understand how the process works, it all feels much less overwhelming.

Galapagos Ferry Routes
Santa Cruz ↔ Isabela
A few things to know:
- You’ll pay an additional $10 Isabela entrance fee on arrival
- Puerto Villamil is about 1 km from the dock – you can walk or take a $2 taxi into town if your accommodation doesn’t provide transfers.
Santa Cruz ↔ San Cristobal
This was the easiest ferry route we experienced overall. The logistics felt simpler because:
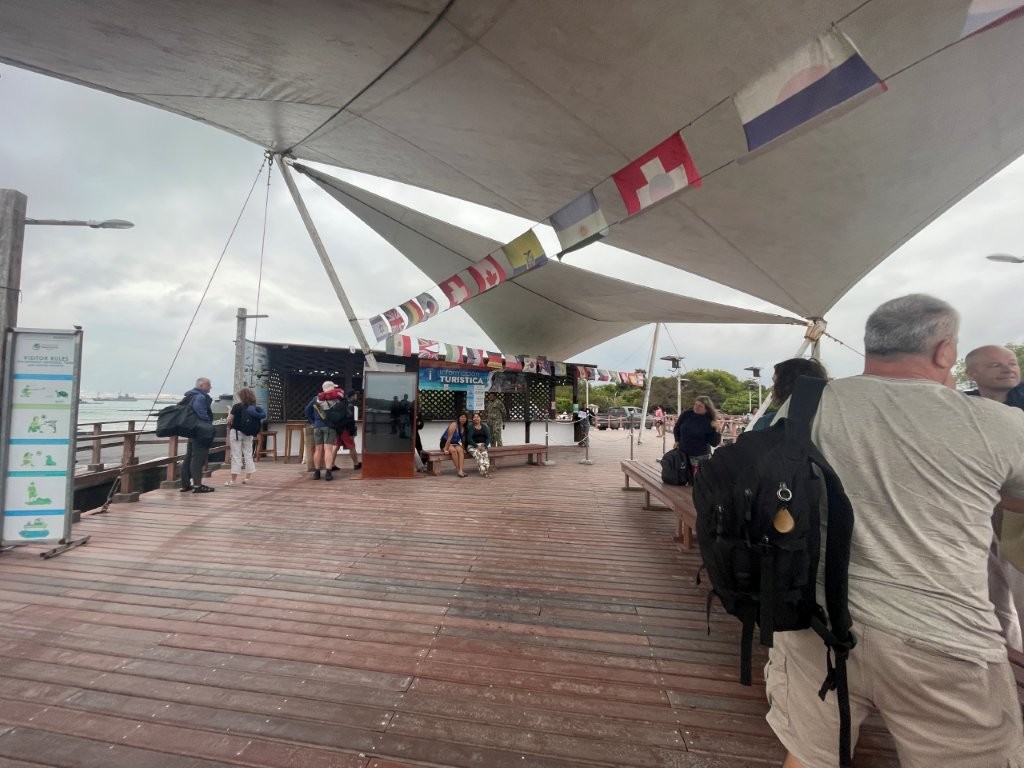
- Both ferry docks are right in town
- No major layover required
- Easy to walk to many accommodations
For slightly more money, you might consider this small group Transfer from Santa Cruz to San Cristobal Island. It features smaller groups of people and nicer, more comfortable, newer boats. It’s also offered at slightly different times than the other ferries.
Isabela ↔ San Cristobal
Where things get much longer is traveling between Isabela and San Cristobal because there is no direct ferry between the two islands. That route requires:
- A morning ferry to Santa Cruz
- Several hours (5-6) waiting around in Puerto Ayora
- Then an afternoon ferry from Santa Cruz to your final island
Our transition day between Isabela and San Cristobal ended up taking almost 12 hours total.
Kari’s Travel Tip: If you want to make this transition less exhausting, consider taking the afternoon ferry to Santa Cruz and spending one night in Puerto Ayora before taking the morning ferry to your new destination. That breaks up the journey instead of doing both crossings on the same day. I kind of wish we had done that!”
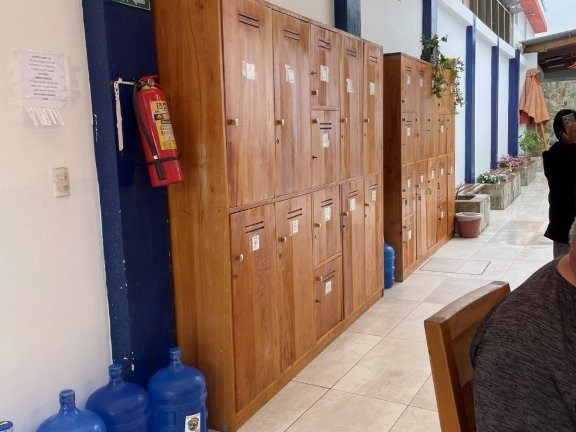
Kari’s Travel Tip: We stored our luggage in lockers near the Santa Cruz ferry dock while waiting for our second ferry. It made the layover much easier and gave us time to walk around town instead of dragging luggage everywhere. The lockers are inside the entrance to the pay public restroom near the ferry pier.
Buying Your Ticket for the Galapagos Ferry
There are several companies operating ferry rides between the three main Galapagos islands, and each company may use multiple boats that typically hold around 25–30 passengers.
Then there are what feels like hundreds of tour companies selling tickets for those boats. In Puerto Ayora especially, you’ll find representatives standing every few feet on the sidewalk asking if you need to book a ferry. It gets confusing quickly.
But know this:
- The prices are set by the companies who operate the ferry rides and they are within a dollar or two of each other. So in theory, no matter who you buy through, it should all cost about the same. If you buy online, there might be a small credit card fee.
- The schedules are set by the Ecuadorian Navy. The morning ferries depart at 6:00 or 7:00 AM. The afternoon ferries all depart at 3:00 PM (aka 15:00)
How far in advance should you buy?
- If you know you need a specific ferry because of a tour, hotel reservation, or flight connection, I’d book at least 2–3 weeks in advance.
- If you’re flexible, booking 2–3 days ahead may be fine, especially outside peak season.
- That said, some ferries do sell out — especially during high season from December through March. I checked on a random Saturday in May, and the next morning’s Santa Cruz to San Cristobal ferry was already sold out. So I wouldn’t wait until the last minute if your schedule is tight.
- And if you’re an organized Type A planner like me, just book once you know your island dates.
Where to buy your tickets
You can buy ferry tickets through a tour agency once you’re on the islands, or you can book ahead online.
I recommend Galapagos Transfers because their website has helpful information, the booking process is straightforward, and they were responsive when I had questions.
If you wait until you’re on the islands, any local tour agency in town can help you book ferry tickets.
No matter where you book, make sure your receipt includes:
- Date
- Departure time
- Boat name
- Route
- Passenger name
If possible, also confirm where to check in. Not every receipt includes that information, but it is very helpful.
Kari’s Travel Tip: Take a photo of your ferry receipt as soon as you get it. You’ll need the boat name later, and it’s way too easy to misplace a paper ticket while juggling luggage, water taxis, and travel-day chaos.
How the Galapagos Ferry Process Works
Step 1: Check In for Your Boat
This was one of the most confusing parts for us because 1) the process is slightly different on every island and 2) our travel agency failed to tell us the name of our boat and then weren’t answering phones on the weekend. So we were scrambling big-time!
In general:
- You arrive about 45 minutes to 1 hour before departure
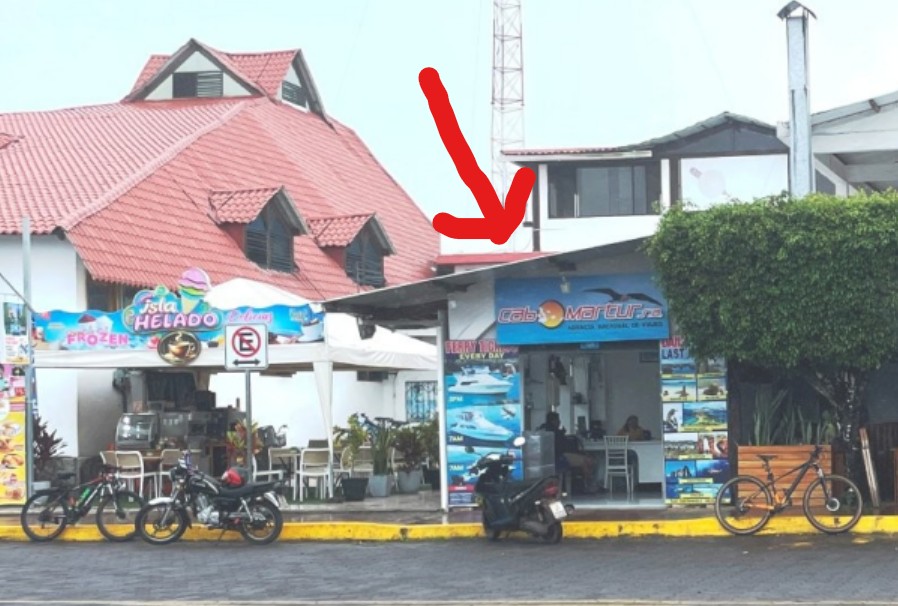
- Find the check-in desk for your specific boat – this might be a guy with a clipboard, a little kiosk or stand, or a store-front office across the street.
- Our experience: The one time we knew the name of our boat (Queen Jenny), we couldn’t find the check in booth. I kept asking people and they all just shrugged. On Santa Cruz, the check-in for the Queen Jenny and several other boats turned out to be inside the tour office across the street from the pier, shown with the red arrow in the photo above.
- Show your name or reservation
- Receive a lanyard boarding pass – they’ll collect these once on the ferry.
Kari’s Travel Tip: Take a photo of your ticket or reservation.
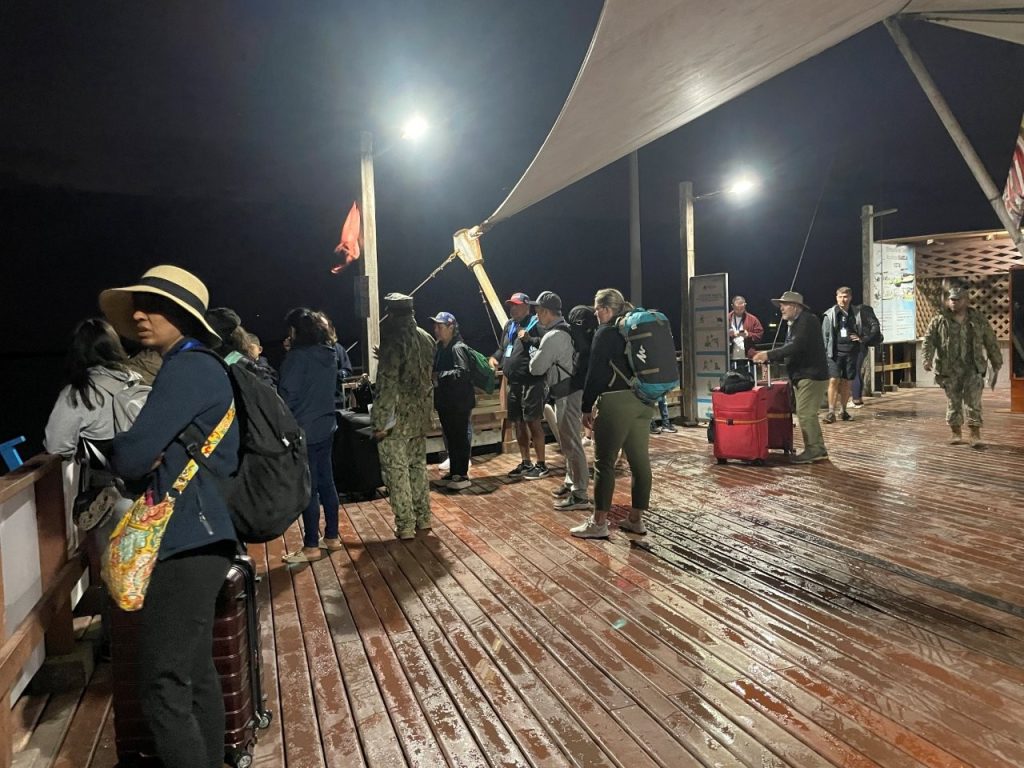
Step 2: Luggage Screening + Biosecurity
Before boarding, your luggage goes through a screening process, similar to airport security. This is part of the Galapagos biosecurity system to protect the islands. Because the Galapagos Islands are a UNESCO World Heritage Site with strict biosecurity rules, even simple travel days come with extra steps most travelers are not used to.
Then you’ll usually:
- Wait in the boarding area on the pier – someone will tell you where to wait, based on your lanyard. You might be standing a long time while you wait for departure time. If there are benches, they are probably occupied by a sea lion.
- Your luggage will get loaded from the pier to the water taxi to the ferry. Keep an eye on it to make sure it gets loaded on the same ferry as you!
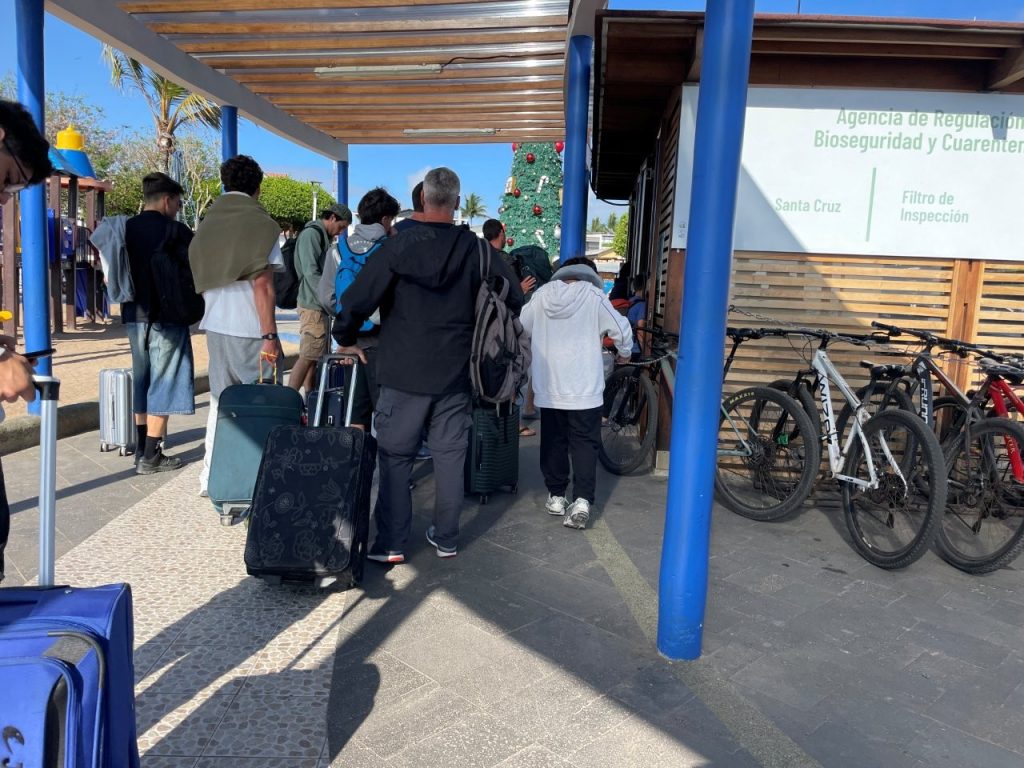
Step 3: Water Taxi to the Ferry
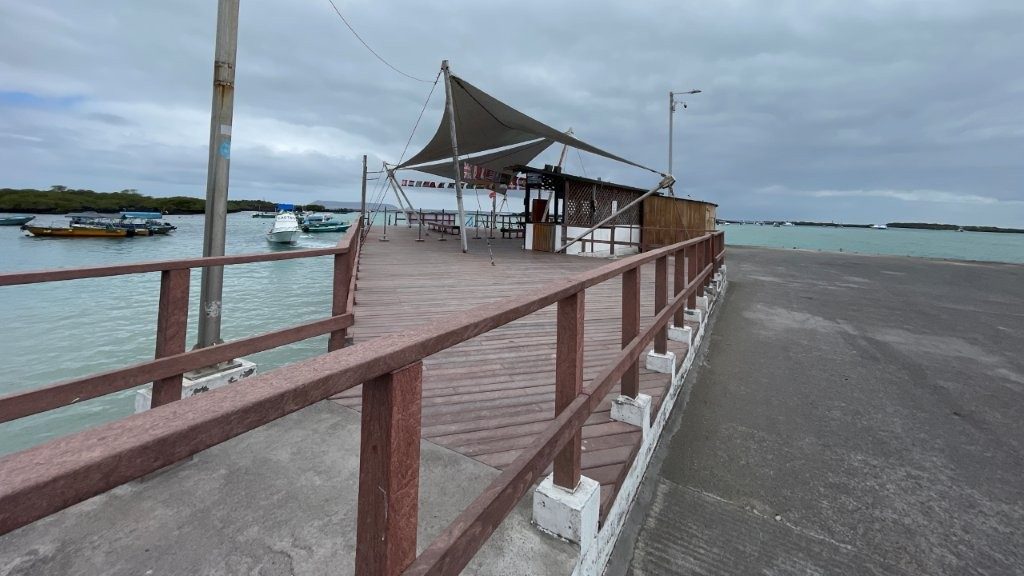
A small water taxi transports passengers and luggage out to the specific ferry in the harbor. Water taxis cost $1 per person, per ride, cash only, payable to the driver as everyone passes their $1 down the boat.
Note, the same thing will happen on the other end where you will take $1 water taxi from the ferry to the pier.
Things can feel a little chaotic because multiple boats will all be boarding at the same time. Keep an eye on both your luggage and your boat name. One time, the boat they brought us to did not match the name on our lanyard, but they insisted we get onto the ferry anyway. Once on board, I just verified that the boat was going to Isabela.

Why Ferry Days Usually Don’t Work for Tours
Most full-day Galapagos tours run roughly from 7 AM–5 PM, which means they start before the first ferry arrives and end after the last ferry departs. Translation: ferry days are usually not realistic tour days.
We mostly used our ferry days for:
- Exploring town
- DIY snorkeling off the beach
- Waterfront walks
- Visiting tortoise centers
- Relaxing between islands
This is one reason I recommend building your Galapagos Itinerary with open travel days instead of treating ferry days like full tour days.
There are a few exceptions. Some half-day tours on Isabela — like Los Los Túneles or Sierra Negra — may technically finish early enough to catch the afternoon ferry afterward, but that would feel very rushed to me personally.
Rough Water + Seasickness Realities
One thing I quickly learned? It’s impossible to predict how rough a Galapagos ferry crossing will be.
I constantly saw travelers asking:
- “Is the morning ferry smoother than the afternoon one?”
- “Which route is the calmest?”
But honestly, it all depends on:
- Wind
- Weather
- Ocean currents
- Tides
Impossible to predict unless you are a weather guy with data. Some of our crossings were manageable. Others were extremely bumpy.
Luckily, neither Bill nor I are very prone to seasickness, but several passengers on our ferries were definitely struggling. Bill usually took a Bonine beforehand, just in case.
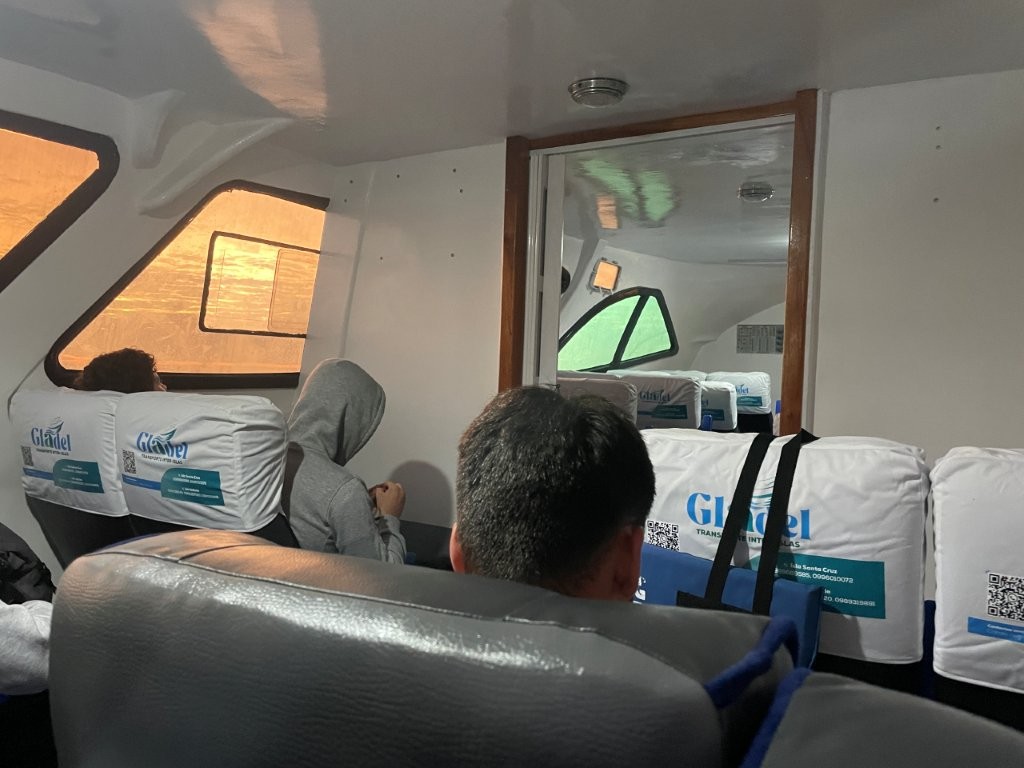
Kari’s Travel Tips:
- Sit near the back or lower level of the boat if possible
- Bring seasickness medication even if you “normally don’t get seasick”
- Protect cameras and electronics from bouncing around
- Don’t expect a relaxing sightseeing cruise — these boats move fast
One ferry ride was rough enough that I held my backpack on my lap the entire 2 hours to keep my camera and computer from slamming against the floor.
Also keep in mind that perceptions of bumpiness can vary wildly by person. On one leg, I was trying to play Solitaire on my phone to pass the time, but we were bouncing around so much that I couldn’t even tap the cards with my finger. But Bill thought that leg was super smooth!
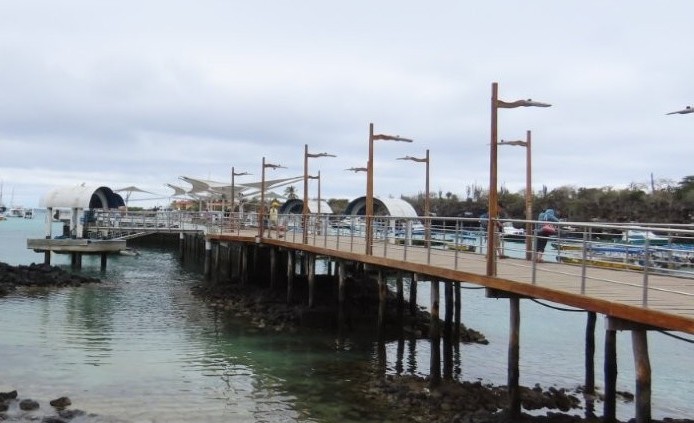
My Best Galapagos Ferry Tips
- Take a photo of your ferry ticket and boat name immediately
- Bring $1 bills for water taxis, taxis, bathrooms, and random fees
- Sit near the back or lower level if you are prone to seasickness
- Protect cameras and electronics from bouncing around
- Don’t schedule any major all day tours on ferry days
- Use luggage storage during long Santa Cruz layovers so you don’t have to carry it around all day.
- Bring patience and flexibility — the process feels more chaotic than difficult
- The ferries we took had surprisingly good WiFi, but none of the boats had power outlets. Make sure your phone is charged fully before you leave.
- Bathrooms are available onboard, although they are smaller than an airplane’s. Go BEFORE you board!
Kari’s Travel Tip: Most ferry companies use similar boats. A fancy-looking booking office does not necessarily mean a better ferry experience.
Can you fly between the islands?
There are small flights available between the three main Galapagos islands, and they can save a lot of time compared to ferry days. The two main airlines are called Emetebe and ESAV Airlines
But there are tradeoffs:
- Flights are much more expensive – approximately $200/person
- Baggage limits are strict (around 11 kg / 24 lbs)
- Schedules are limited
For us, the ferries still made more sense because we were traveling with luggage for our four month South American trip. No way were we going to be under 24 lbs each!
If you’re planning a faster-paced itinerary or strongly dislike rough water, flights may still be worth considering for one leg of your trip.
FAQs About the Galapagos Ferries
Are Galapagos ferries safe?
Yes. Thousands of travelers use the inter-island ferries every year. The boats can definitely feel rough sometimes, but we never felt unsafe.
Where should you sit on the ferry if you get seasick?
Most travelers recommend sitting near the back or lower level of the boat because there tends to be less bouncing there.
What happens if your ferry is delayed or canceled?
Weather delays can happen. This is one reason I strongly recommend building flexibility into your Galapagos itinerary and avoiding super tight same-day flight connections.
Now You’re Ready for Galapagos Ferry Day
The ferries may not be the glamorous part of a Bucket List Galapagos trip, but they are what make island hopping possible. The Galapagos ferry system ended up feeling much less intimidating once we understood how the process actually worked.
For us, the biggest challenges were not the boat rides themselves, but all the little logistics surrounding them:
- Check-in confusion
- Water taxis
- Luggage transfers
- Long transition days
- Unclear communication
Once you know what to expect, the ferry process becomes much easier to navigate.
And despite a few stressful moments along the way, island hopping for 30 days between Santa Cruz, Isabela, and San Cristobal was absolutely worth it for us.
More Galapagos Travel Guides
Here are some more posts about visiting the Galapagos Islands. If you’d like to receive emails when I’ve posted new content to the site, please complete the short form above.
Overall Galapagos Planning Guides
- First Time Galapagos Travel Guide: What I Wish I Knew Before Going
- Galapagos Itinerary: How Many Days Do You Really Need?
- How to Choose the Best Galapagos Snorkeling Tour for YOU
- Best Time to Visit Galapagos: What to Know Before You Go
- Galapagos Trip Cost: What We Spent For 30 Days (It’s Less Than You’d Think)
- What to Pack for the Galapagos – The Island-Hopping Packing List
- How to Get to the Galapagos Islands: What No One Tells You
- Galapagos Ferry Guide: What We Wish We Had Known
- Galapagos Liveaboard vs Land-Based Trip – Which Is Right for You
Santa Cruz Island Galapagos Guides
- Best Things To Do In Santa Cruz Galapagos + Tours Worth Booking
- Where To Stay In Santa Cruz Galapagos: 9 Hotels For Every Budget
- All The Best Low-Cost And Free Things To Do On Santa Cruz Island
- Bartolomé Island Tour Review: Bucket List Must-Do or Overrated?
Isabela Island Galapagos Guides
- Best Things To Do In Isabela Galapagos: Snorkeling, Beaches & Volcanoes
- Where to Stay in Isabela Galapagos: Best Hotels for Every Budget
- Best Low-Cost and Free Things to Do on Isabela Island Galapagos
- Los Túneles Tour Review: Did It Live Up To The Hype?
- Las Tintoreras Tour Review: Is It the Right Snorkeling Tour for You?
- Concha De Perla: Free DIY Snorkeling On Isabela Island Galapagos
San Cristobal Island Galapagos Guides
- Best Things to Do in San Cristobal Galapagos: Tours, Beaches & Wildlife
- Where To Stay in San Cristobal Galapagos: Best Hotels For Every Budget
- Budget Friendly And Free Things To Do On San Cristobal Island
- Kicker Rock Snorkeling Tour Review: Did It Live Up to the Hype?
- Española Island Tour Review: Rare Birds and Epic Snorkeling
- Punta Pitt Tour Review: The Remote Galapagos Tour Most Visitors Overlook